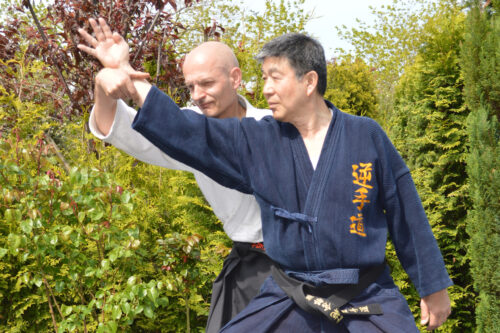
» At the starting of AIKI Web Course
【AIKI Web Course Part 2】
Lesson 8 - Application of Targeted Force Transfer
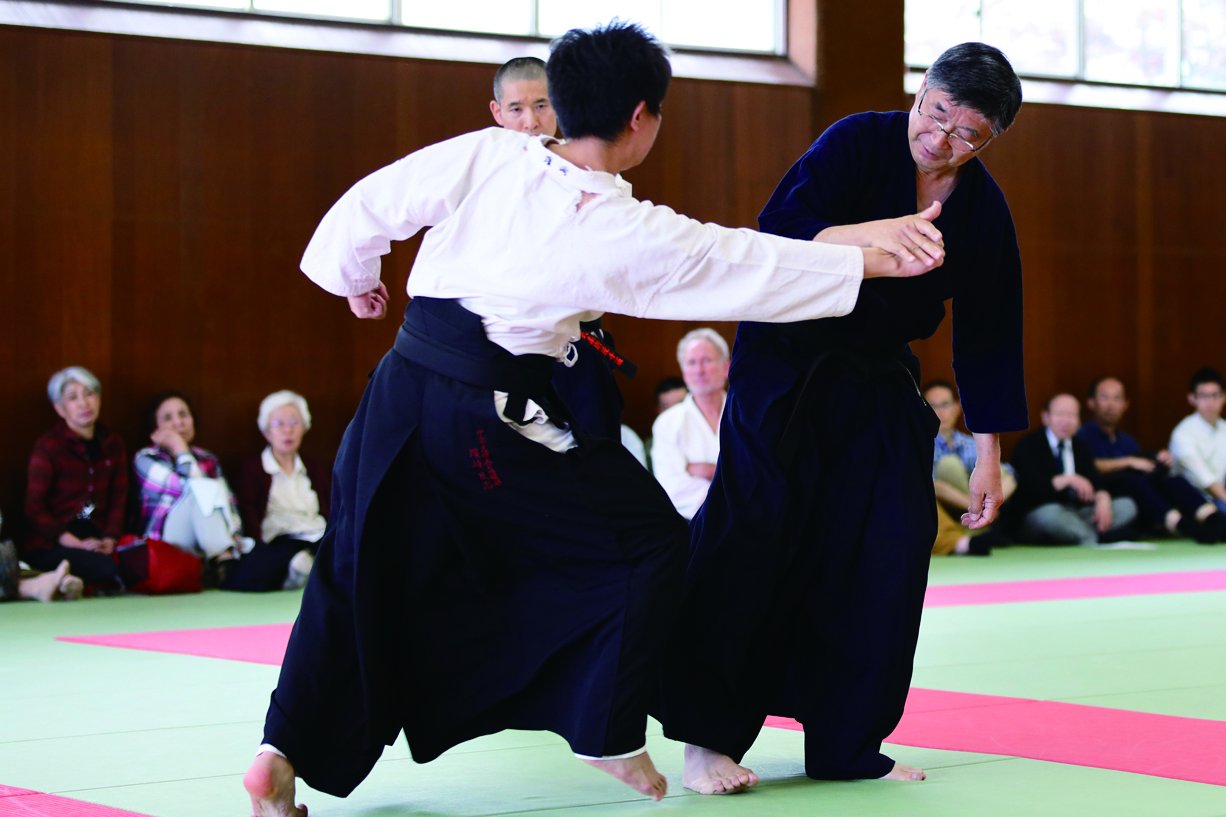
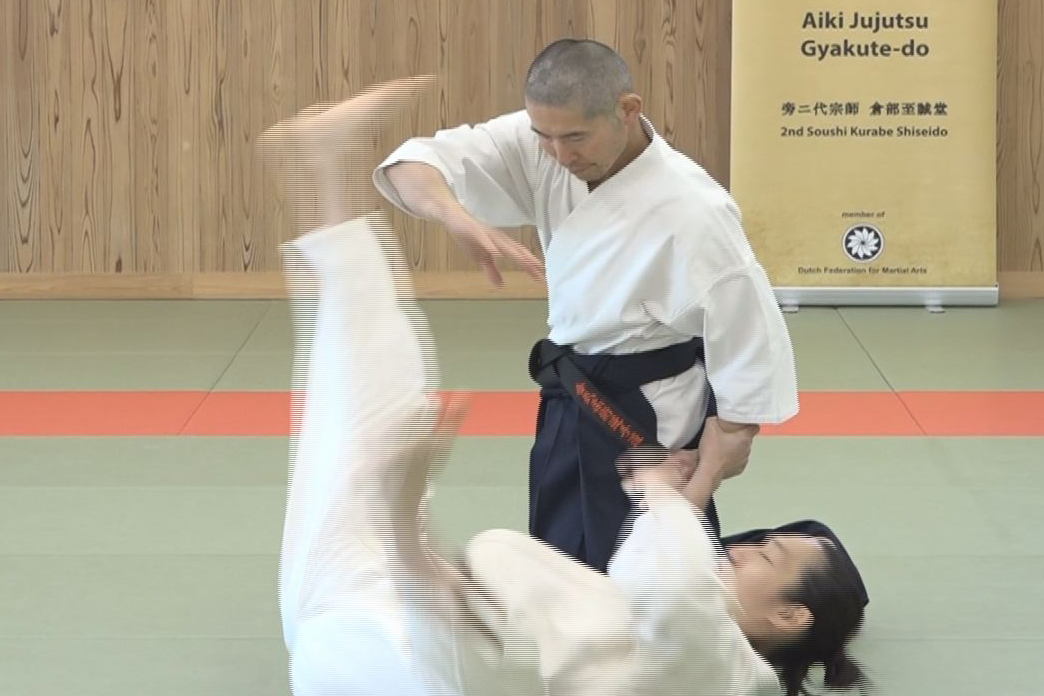
Once you have cleared the previous exercise (Lesson 7), this time both you and the opponent stand on knees and perform the technique of falling down the opponent to one side.
Practice of Targeted Force Transfer 2
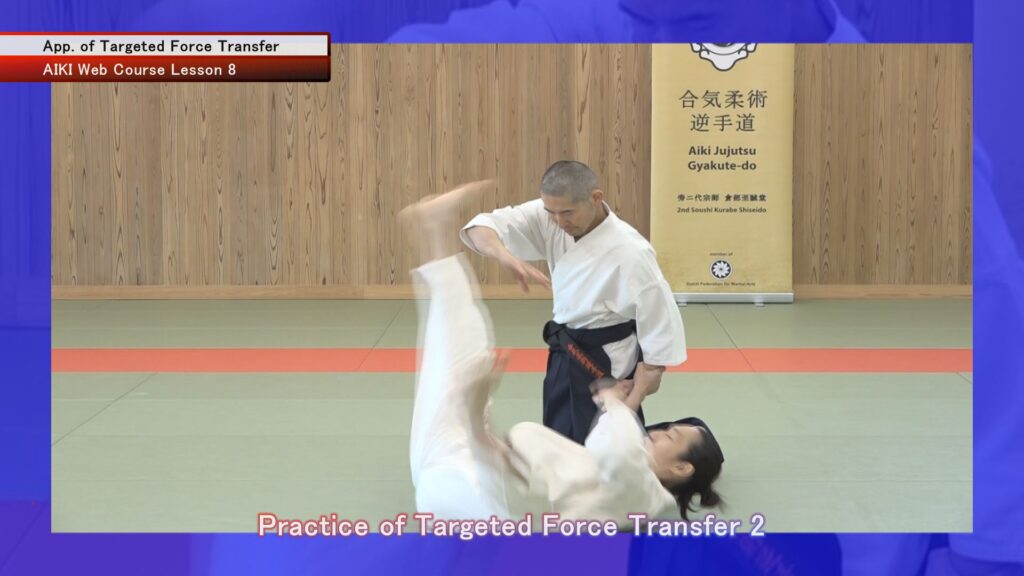
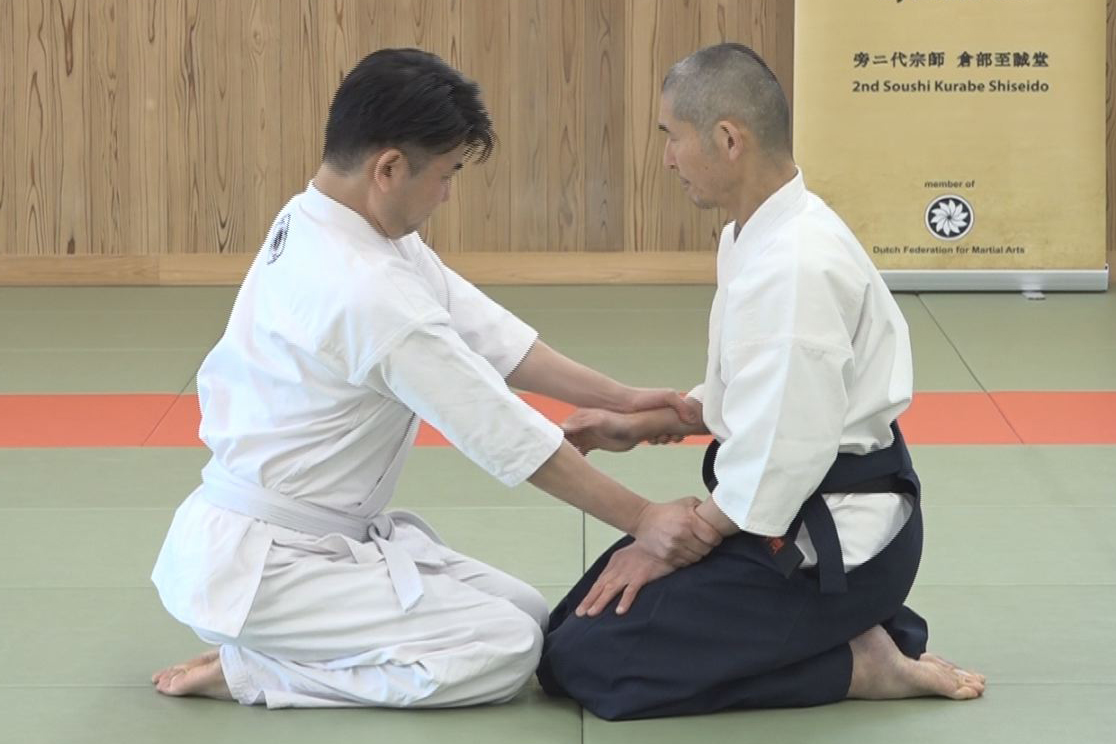
A and B stand on knees face to face.
A…Defender
B…Attacker
a・B grasps A’s wrists with two hands.
b・A slightly bends his elbow and lowers it.
c・In this state, A raises his right arm while imagining that force is being transmitted to B’s left shoulder, without applying force to his wrist. And at the same time lowers his left arm lightly without applying force to his wrist.
d・B is collapsed to the right side as the left shoulder is pushed up.
If the force is not transmitted correctly, the opponent’s left shoulder will not rise because the force will stop at the opponent’s left arm. The key to success is how strongly you can focus on your target, i.e. opponent’s left shoulder.
1 Extend the opponent’s arm straight
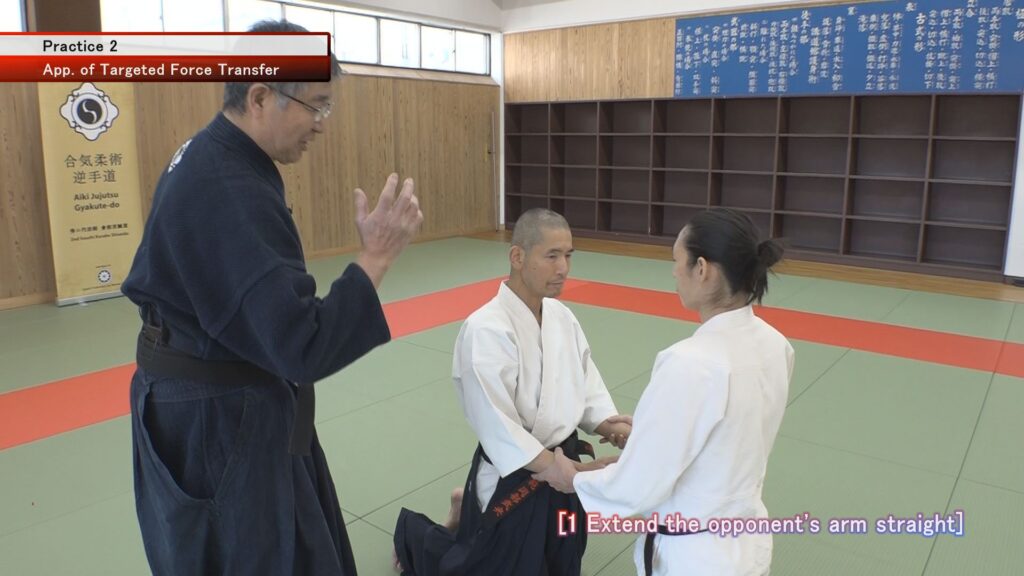
To send force through the opponent’s left arm, keep his left arm as straight as possible. Therefore, by lowering your right elbow and lowering the position of the wrist relatively, the opponent’s arm is extended.
2 Strengthen your consciousness onto the target
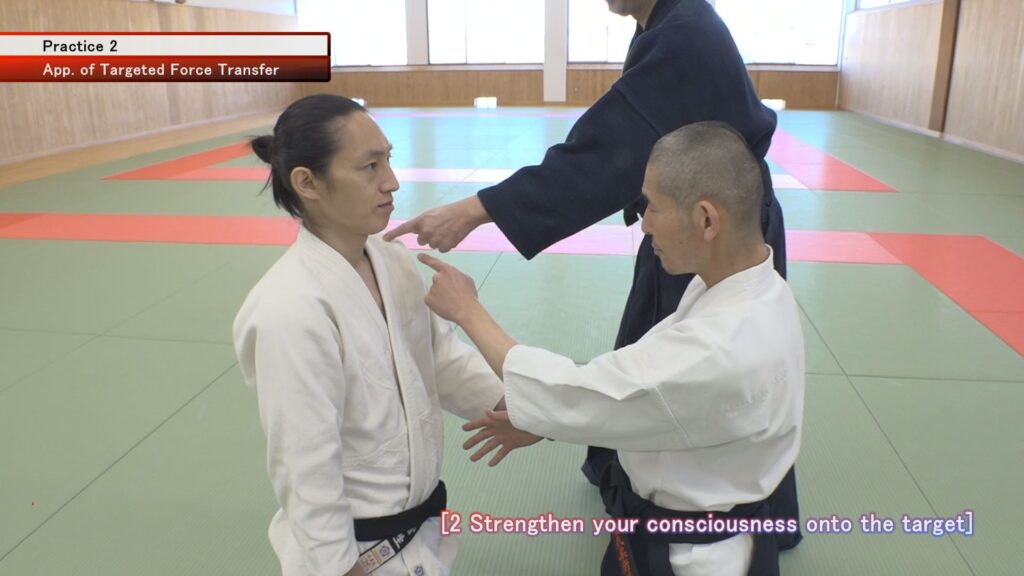
As a test, ask the opponent to release his right grip on your left wrist, then point his left shoulder with the index finger of your freed left hand. While in this position, raise your right arm.
This will greatly increase your chance of success. This is thought to be because pointing to the target with the index finger strengthens the force of consciousness.
This is why AIKI is said to be a skill of consciousness.
3 Pulling the left arm is only an auxiliary movement
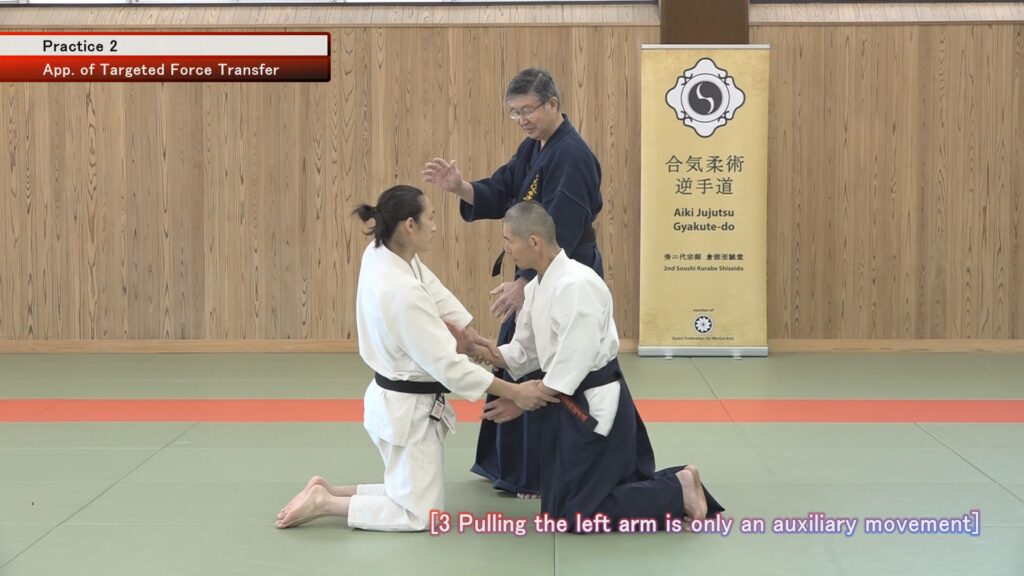
Even if you can send force to the opponent’s left shoulder, if you apply a force to the left wrist and pull the opponent’s right arm, the opponent will not collapse.
The main motion is to raise your right arm and raise your opponent’s left shoulder. In addition, it is better to gently lower the left arm a little bit after raising the right arm.
Summary of Lesson 8
Once this practice is done successfully with both kneeling, the next stage is to develop this technique to fall the opponent in standing position. In such case first you pull down one leg from the standing position and throw the opponent to that side.
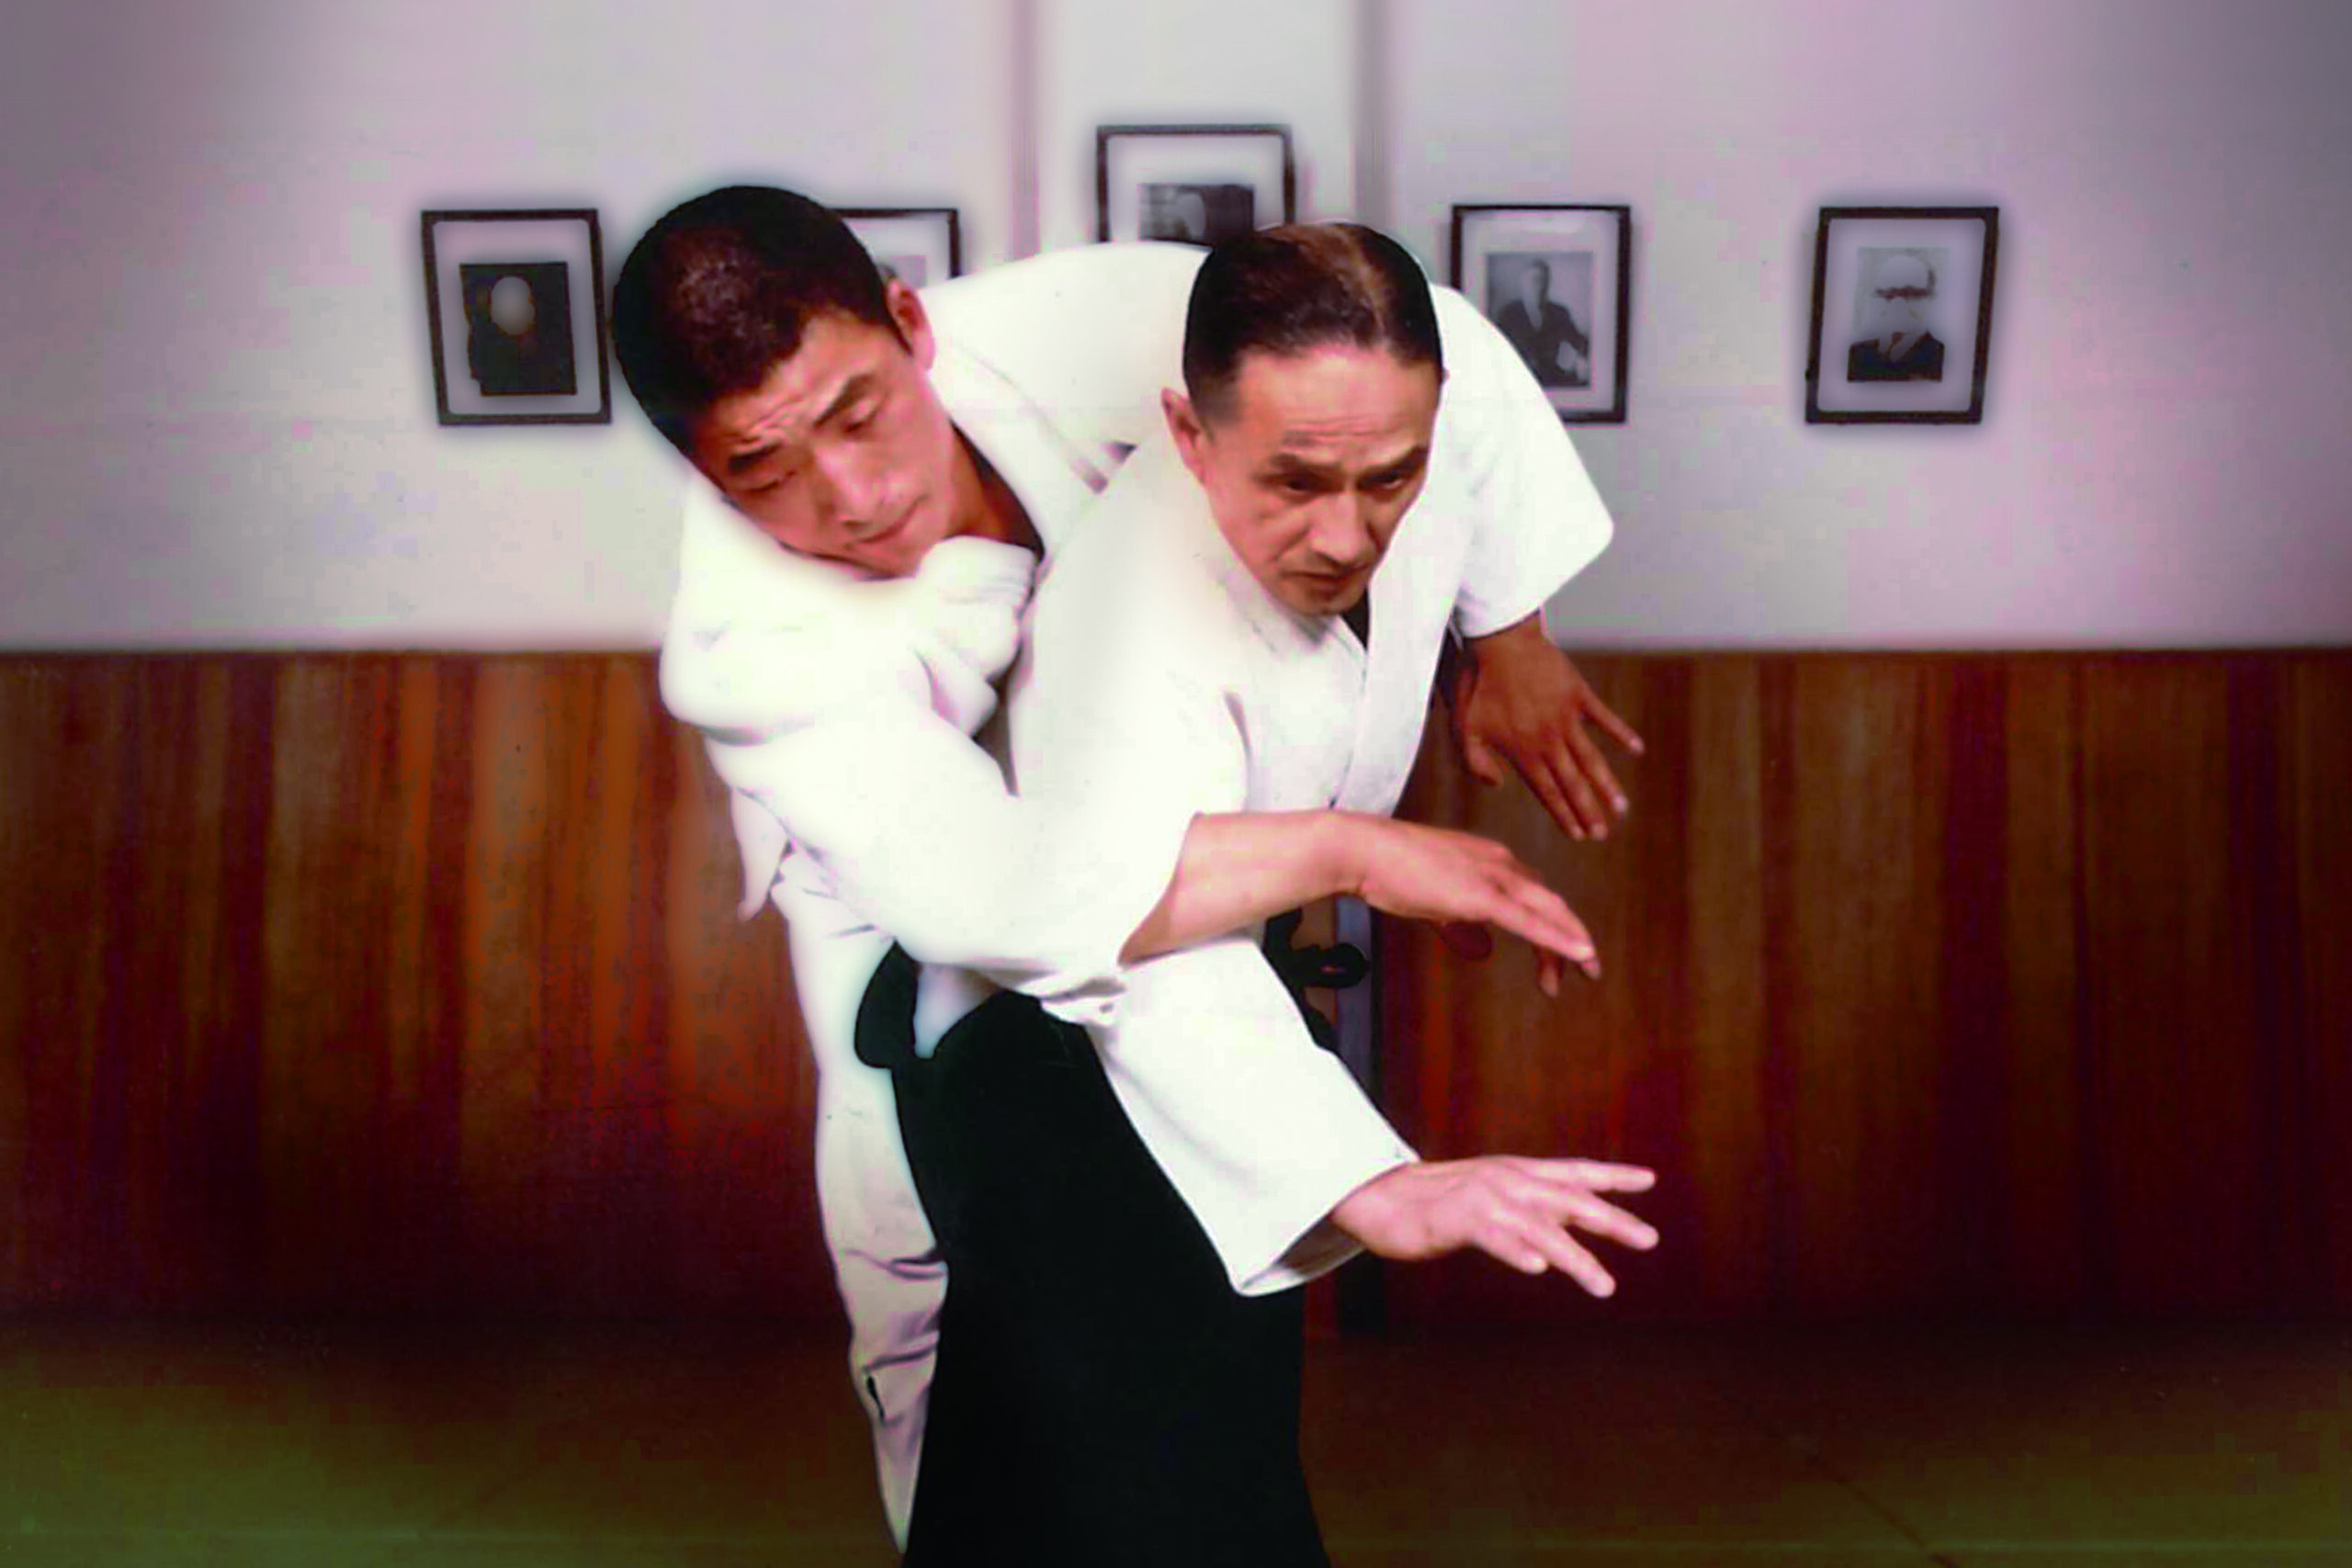
This is exactly Kuki Nage, the air throw, that the late MIFUNE 10th Dan of Kodokan Judo (*) was good at.
*…The honorary name of Kodokan Judo practitioner Kyuzo MIFUNE (1883-1965). He devised the air throw as a method of throwing the opponent with body operation when only the hands are in contact.
Learn AIKI by a Combination of
Videos and Articles!!
» At the starting of AIKI Web Course
with Videos and Free Articles
AIKI Web Course Part 2 24 Lessons
-
-
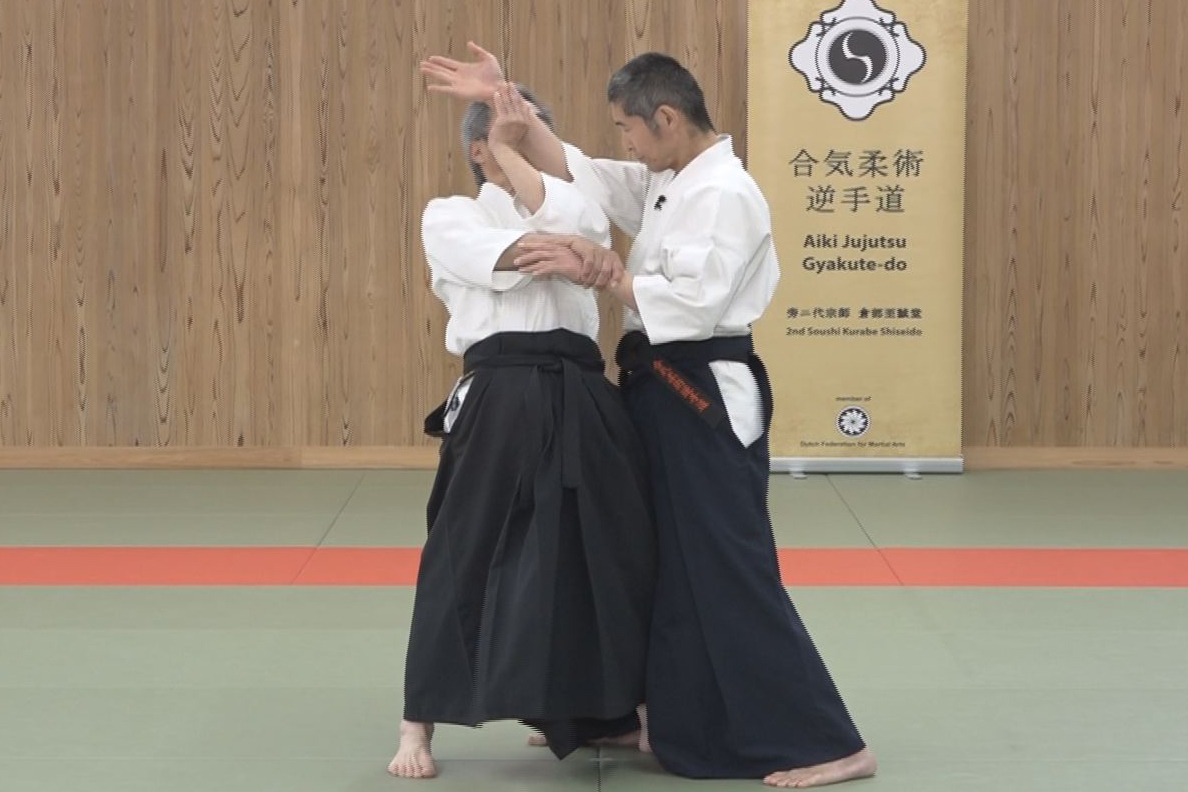
Lesson 24 With Comb. of Different Methods #2
-
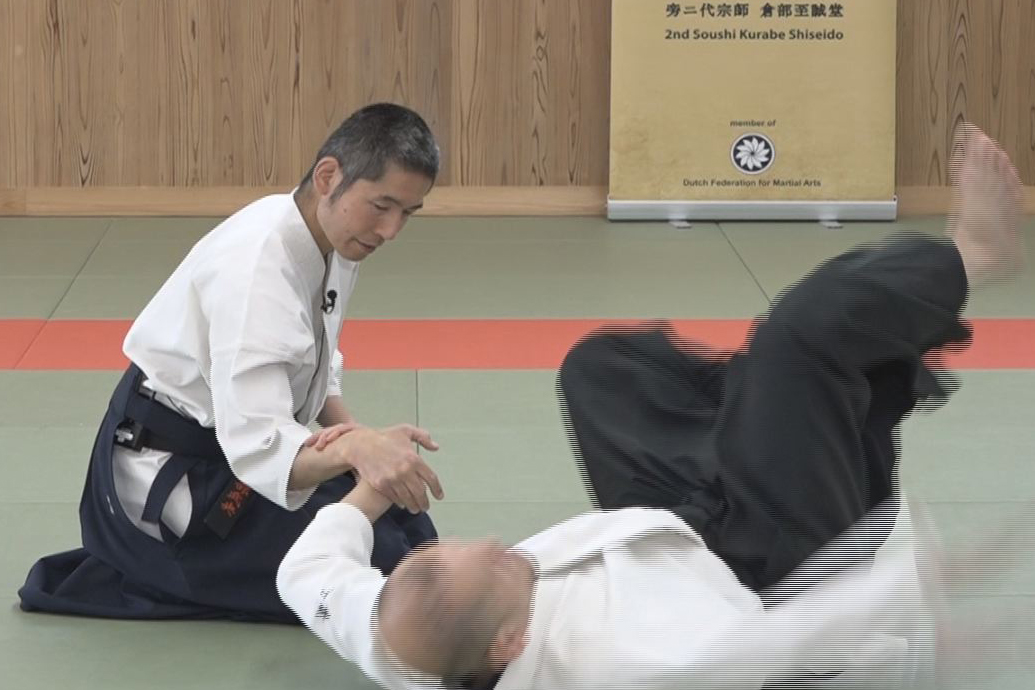
Lesson 23 With Comb. of Different Methods #1
-

Lesson 22 Advanced Tech. using F. E. method #2
-

Lesson 21 Advanced Tech. using F. E. method #1
-
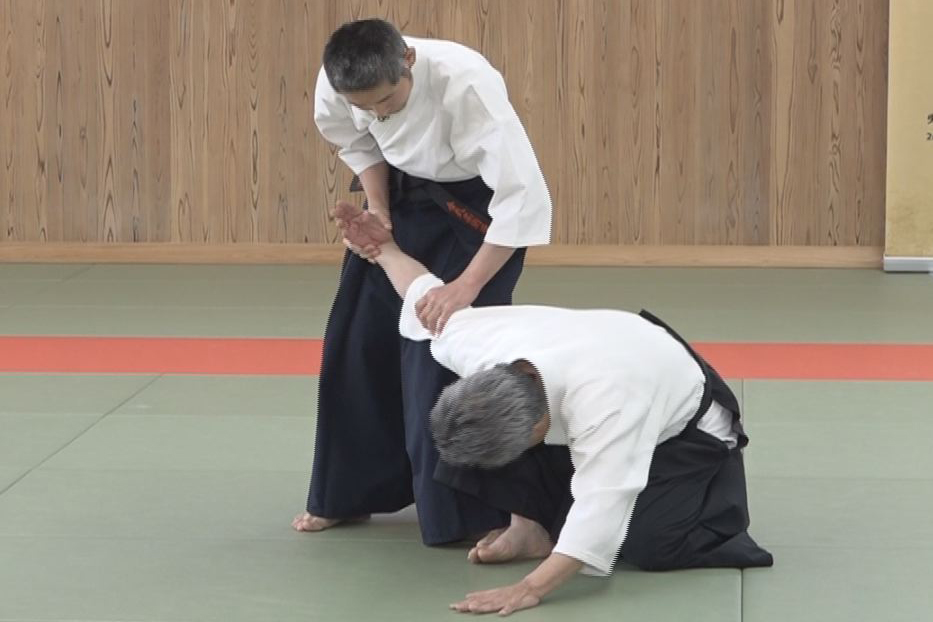
Lesson 20 Advanced tech. using T. F. T. #2
-
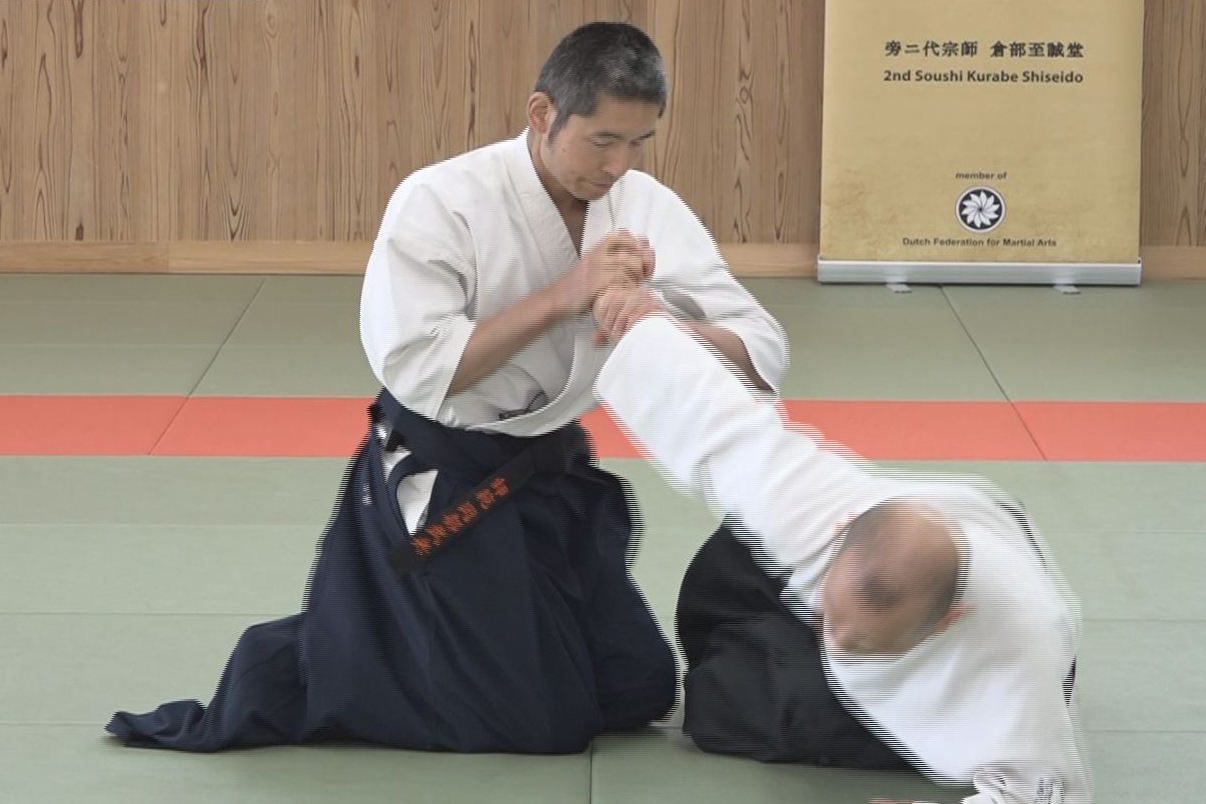
Lesson 19 Advanced tech. using T. F. T. #1
-
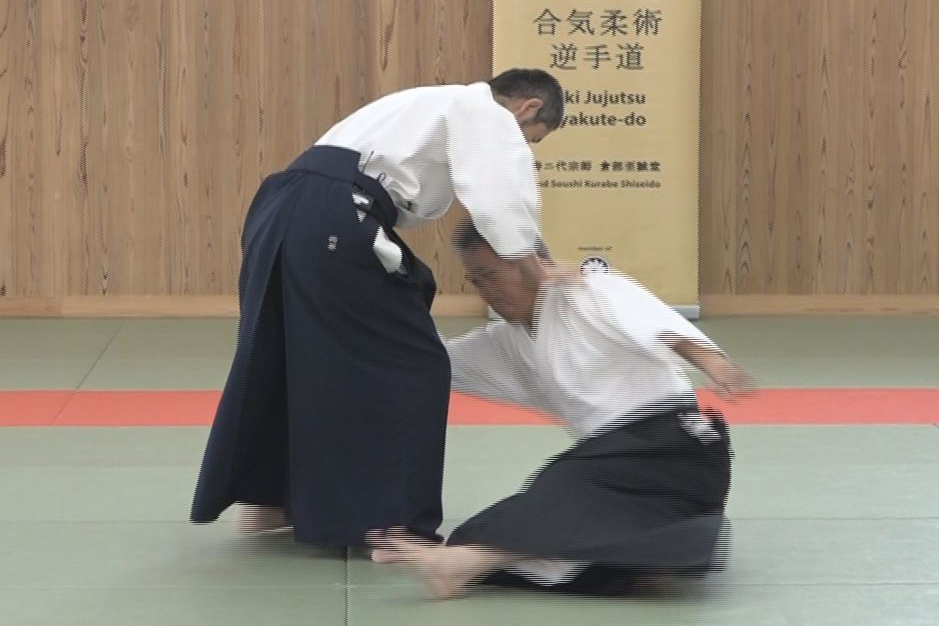
Lesson 18 Advanced tech. using AIKI Contact #2
-
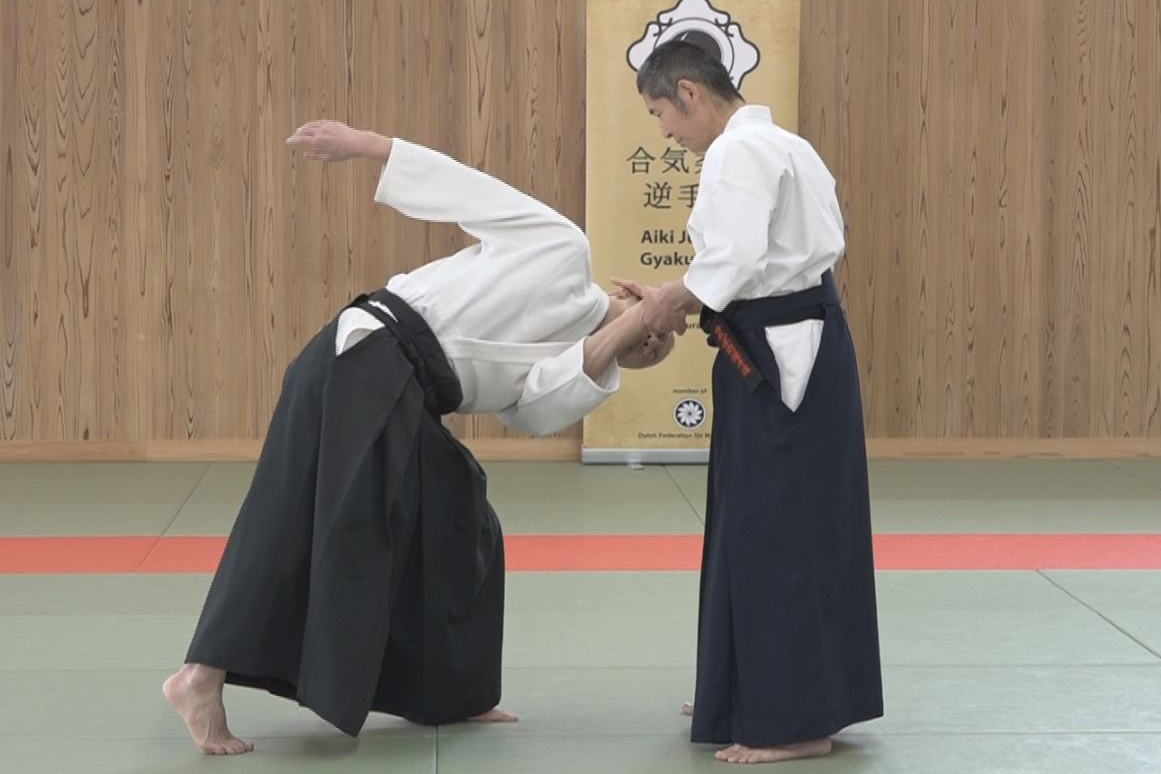
Lesson 17 Advanced tech. using AIKI Contact #1
-
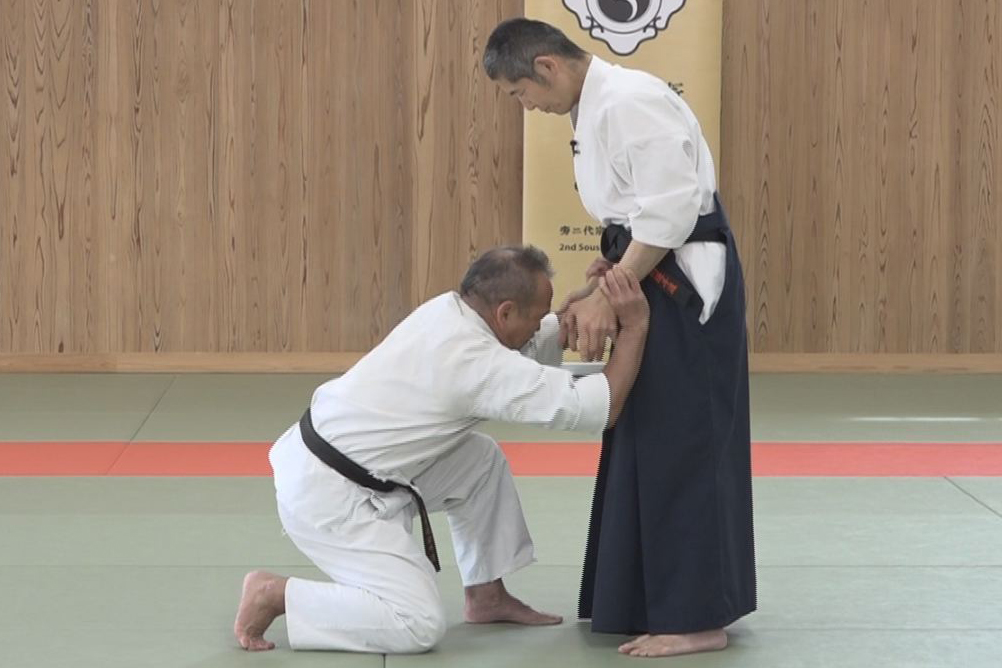
Lesson 16 Advanced tech. by Undetectable F.T. #2
-
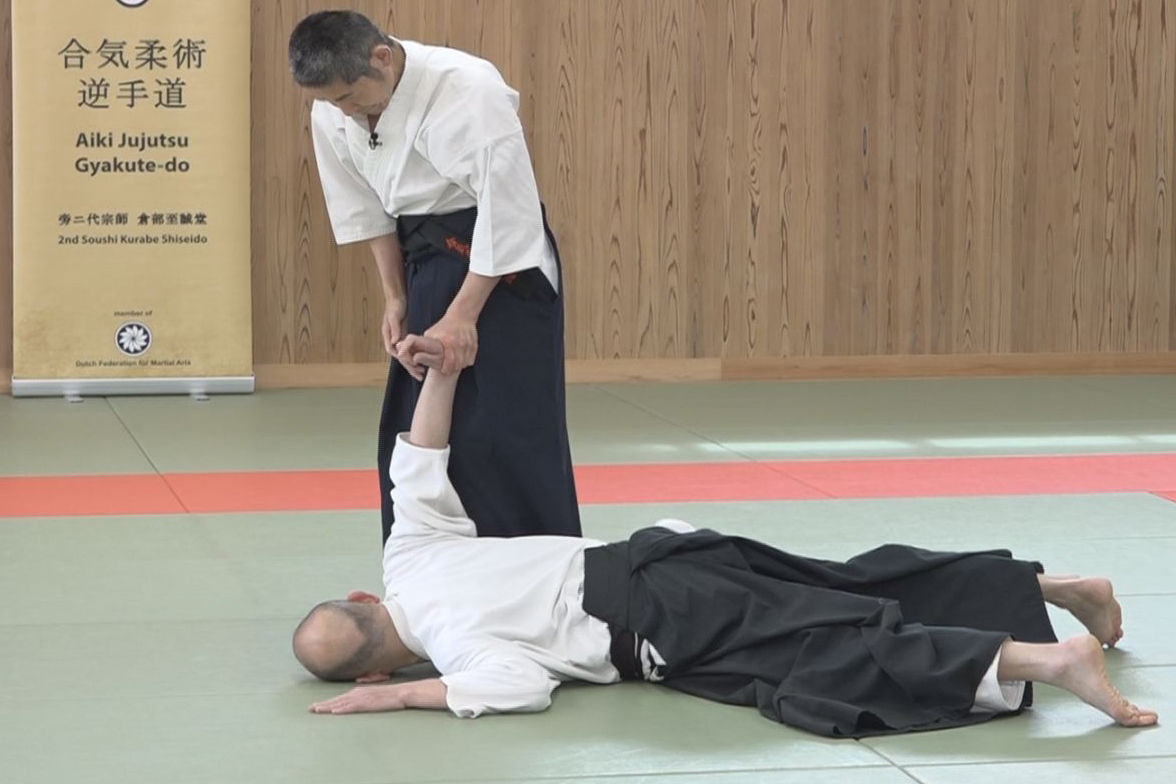
Lesson 15 - Advanced tech. by Undetectable F. T. #1
-
Lesson 14 - Advanced tech. by the Waving method #2
-
Lesson 13 - Advanced tech. by the Waving method #1
-
Lesson 12 - Gyaku-te by not Using Force nor AIKI
-
Lesson 11 - Gyaku-te Realized by the AIKI Method
-
Lesson 10 - Application of Force Equilibrium method
-
Lesson 9 - Force Equilibrium
-
Lesson 8 - Application of Targeted Force Transfer
-
Lesson 7 - Targeted Force Transfer
-
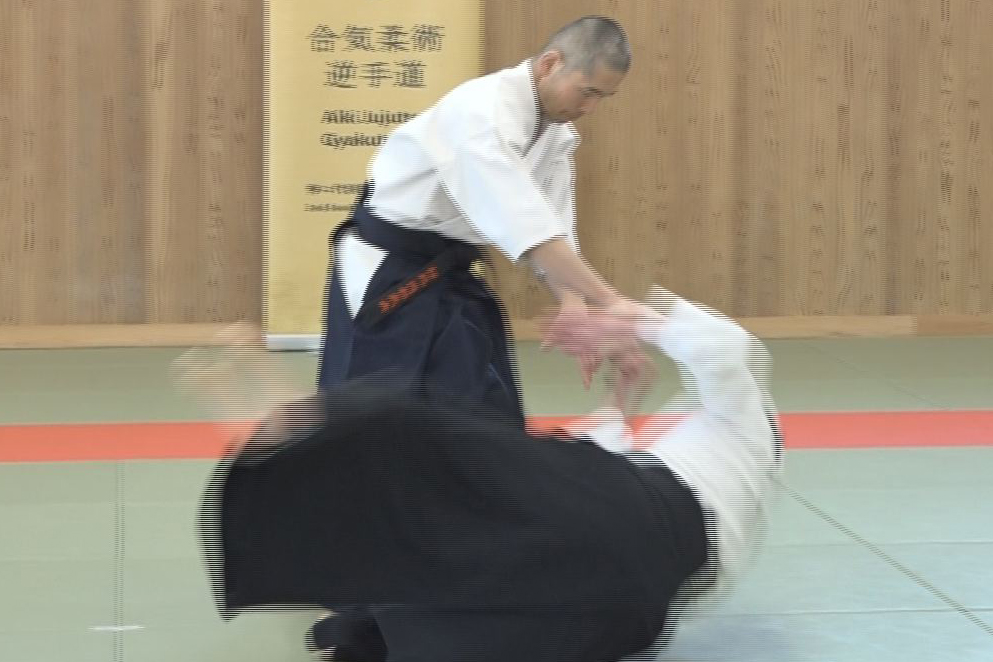
Lesson 6 - Application of AIKI Connection
-
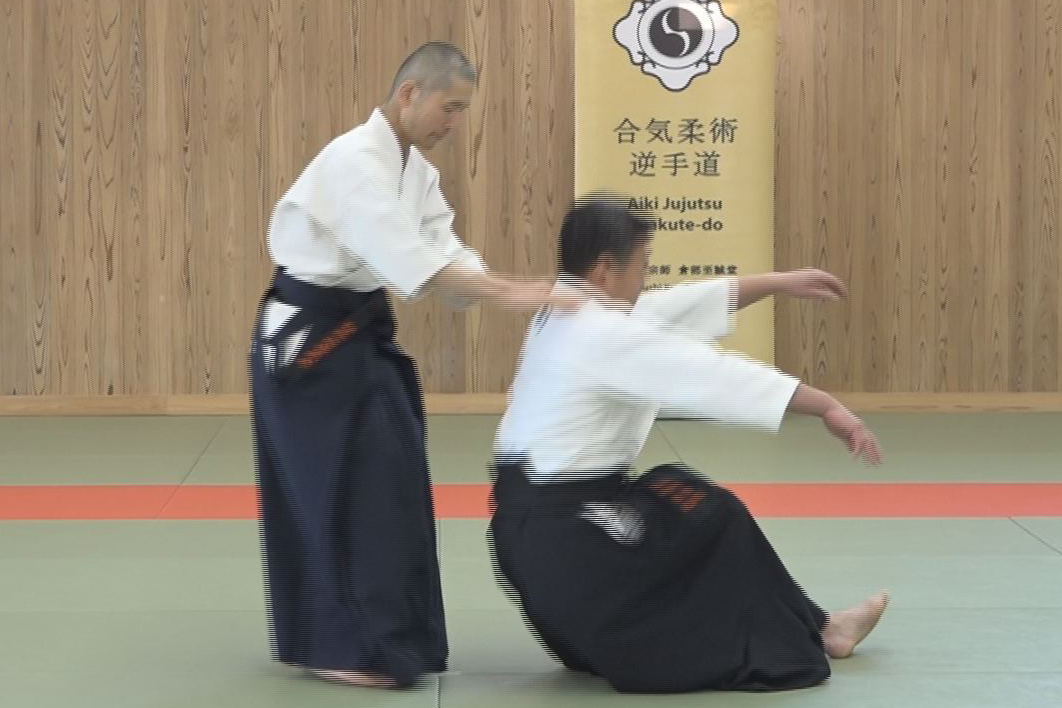
Lesson 5 - AIKI Connection
-
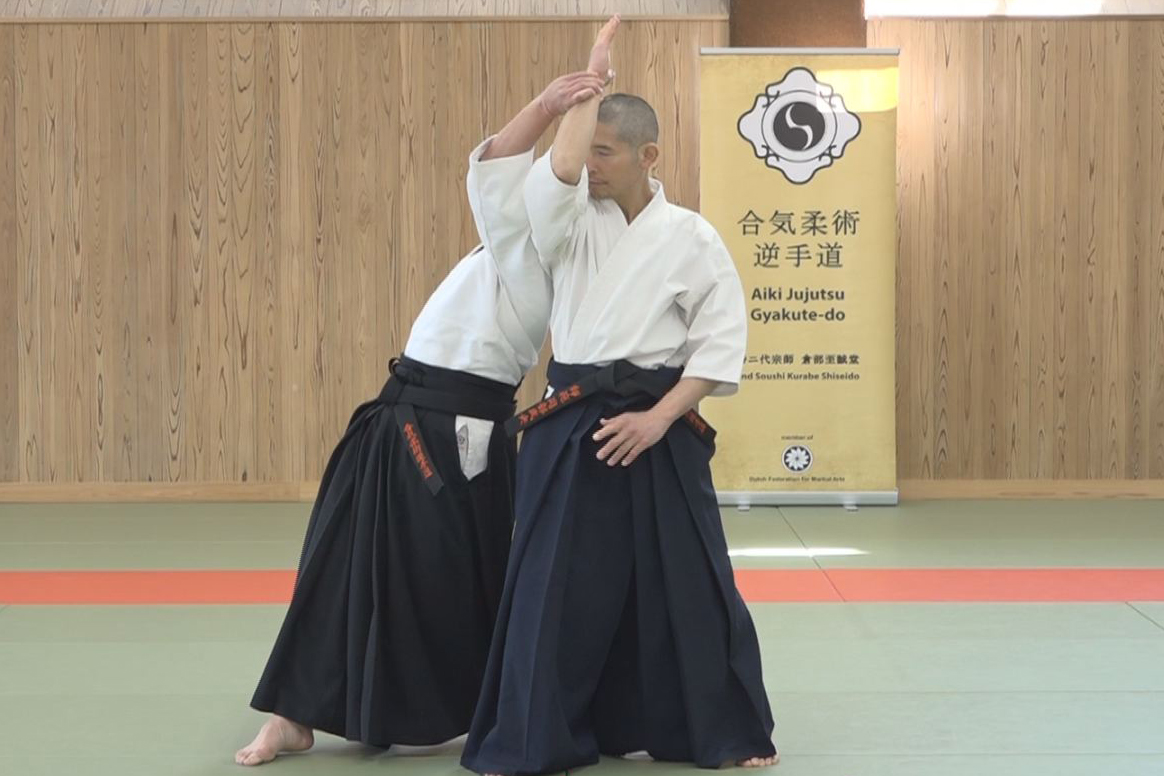
Lesson 4 - Application of Nondetectable Force Transfer
-
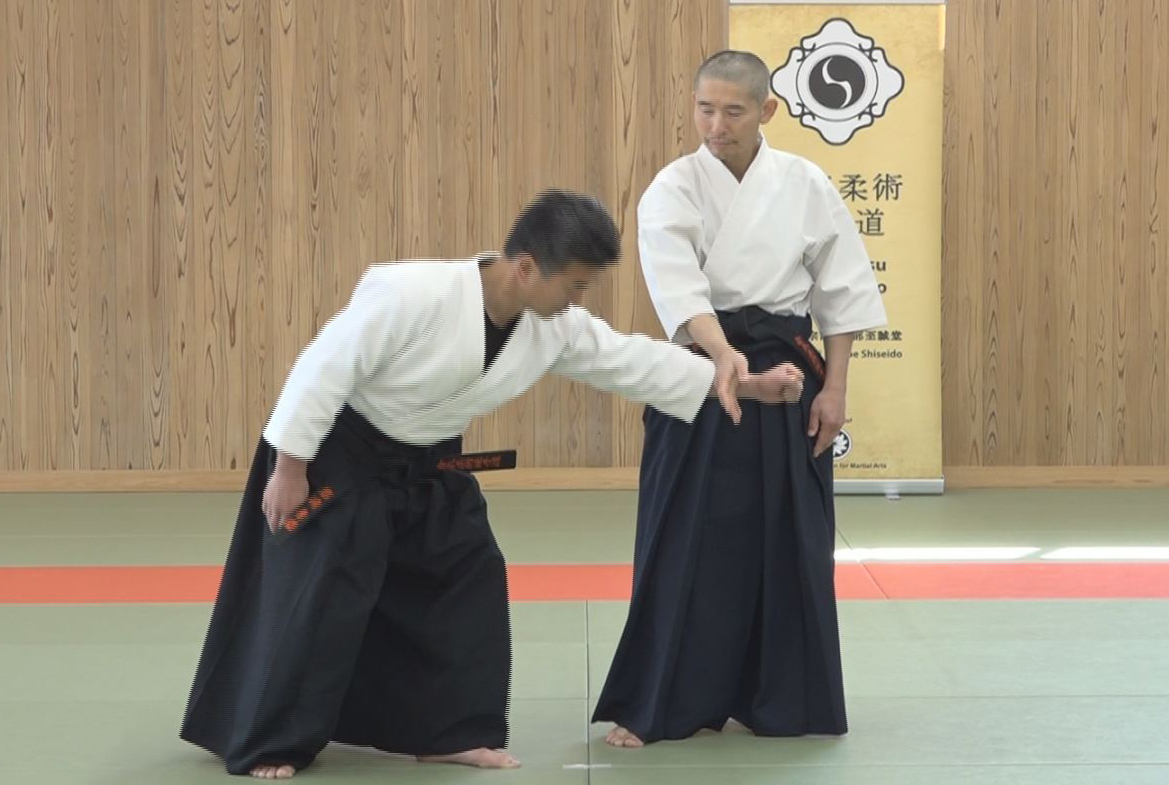
Lesson 3 - Explanation of Undetectable Force Transfer
-
Lesson 2 - Application of Waving Method
-
Lesson 1 - The Explanation of Waving Method
-
Introduction with video
and Knowledge of AIKI

